Dashboard
Dashboard is an integral part ,it provides all the necessary information in quick overview for the best working conditions for different entities associated with the educational organization.
Dashboard page will appear from where you can view all the information like Sms used,Employees leave count,Transportation,Fee Pending,Calendar (quick overview including with events ,holidays,important days) daily student,teacher attendance reports i.e attendance summary by class & section wise.
Schools are the best place which plays a vital role in every childs life.Children are the future and giving a memorable wish on a child’s birthday can give any child the joy and fun of looking forward to many more birthdays ahead.

- In the calendar,by clicking on the particular date, a popup will appear for adding of the New Events .
- From the add event,you need to select the event action and need to give the title, location & date to be held.
- By placing the mouse pointer on the bars which are below the dates ,you can view the Event name.
- Messages can be sent to the students & staff on the occasion of their birthdays by clicking on Send SMS button.
Admission
Manage School
School Logo
- Choose a file to upload. Click on the Choose File button, to upload the image.
- Follow the process for School Logo ,Head of the Institution & Authorised Signature.
- After uploading the images find the Submit button and click on it.
Classes
- By clicking on the Add New class button ,a popup will appear for adding of the new classes.
- Edit & Delete options are also available for modification or deletion of duplicate creation of classes.
Add New Classes
- In the add classs,after selection of required number of classes ,Class Name & Description are available to fill.
- Delete option is also available for deletion incase of wrong selection of number of classes.
- After filling the form find the Submit button and click on it.
- After creation of class name & description you can view the created classes in the classes list.
Section
- By clicking on the Add New Section button ,a popup will appear for adding of the new sections respective to their classes .
- Edit option is available for modification of duplicate creation of Sections.
Add New Sections
- In the add Sections,after selection of required number of sections ,Section Name is available to fill.
- Delete option is also available for deletion incase of wrong selection of number of Sections.
- After filling the form find the Submit button and click on it.
- After creation of Section name you can view the created sections in the Sections list corresponding to their classes.
Subject
- By clicking on the Add New Subject button ,a popup will appear for adding of the new Subject as per required to the classes.
- Edit & Delete options are also available for modification or deletion of duplicate creation of subjects.
Add New Subjects
- In the add Subject,by clicking on the Caret symbol which is at the end of the form,you can select the no.of Subjects as per to your requirement.
- After selection of the required number of subjects you can view the below screen.
- In the add subject,after selection of required number of subjects ,Subject Name & Description are available to fill.
- Delete option is also available for deletion incase of wrong selection of number of subjects.
- After filling the form find the Submit button and click on it.
- After creation of subject name & description you can view the created Subjects in the subjects list corresponding to their classes.

Class Subjects
- By clicking on the Add New Class Subject button ,a popup will appear for adding of the new class Subject as per required to the classes.
- Edit & Delete options are also available for modification or deletion of duplicate creation of class subjects.
Map Class & Subjects
- In the Map class & Subjects,by clicking on the Caret symbol which is at the end of the form,you can view and select the Subjects.
- After selection of subjects you can view the below screen.
- In the Map Class & Subjects,after selection of required subjects ,find the Submit button and click on it.
- Now you can view the created class Subjects in the classes subjects list corresponding to their classes.

Holidays
- By clicking on the Add New Holidays button ,a popup will appear for adding of the new holidays.
- Edit & Delete options are also available for modification or deletion of duplicate creation of holidays.
Add New Holidays
- In the add Holidays,by clicking on the Caret symbol which is at the end of the form,you can select the no.of holidays as per to your requirement.
- After selection of the required number of holidays you can view the below screen.
- In the add Holidays,after selection of required number of holidays ,Holiday Name , Start Date End Date & Holiday Reason are available to fill.
- Delete option is also available for deletion incase of wrong selection of number of classes.
- After filling the form find the Submit button and click on it.
- After creation of Holiday Name,Start Date,End Date & Reason you can view the created holidays in the holidays list.
Students
Students
In Students module it helps to manage data regarding students education at one place and with it include all details about his/her admission, general, communication, family, address, transport, documents and all data & reports from the period he enrolled in school till he passes out.
Class Selection
- In the students module ,from Class selection you can select the particular class and corresponding section.
- Now click on the Get Students button to view the list of corresponding class & section wise students
- From the below screen you can view the selected class & section Students list.
Students Information
- From Students Information,different operations are to be done.
- View,Edit,SMS & Delete options are also available for any changes.
- By clicking on the Add New student button ,it will redirect to Students module you need to fill the full details of the student.
- From the below screen you can view the Students module.
Employees
Employees
In Employees module, it lets you to store all detailed information about employees like personal, Qualification ,relative , family, spouse, ,professional history data regarding a faculty & primary subjects .It also includes modules taught information, classes and module details of the faculty.
Add New Employee
- From Employee module,different operations are to be done.
- View,Edit,SMS & Delete options are also available for any changes.
- By clicking on the Add New Employee button ,it will redirect to Employee module you need to fill the full details of the Employee.
- From the below screen you can view the Employee module.
Attendance
Student Attendance
- From this module ,Students Attendance you can select the particular class and corresponding section.
- Now click on the Get Students button to view the list of corresponding class & section wise students to view the attendance of the particular class.
- From the list ,attendance can be taken and parallely SMS can be sent for absent students.
Quick Attendance
- From this module ,Quick SMS you can select the particular class and corresponding section.
- After selecting the class ,give the Absent students Roll Numbers and SMS will be sent those numbers immediately.
- After filling the absent numbers find the Submit button and click on it.


Student Detailed Report
- From the Student Reports,by selecting the Class & Sections option we can select the required class & section,later select the respective Month
- Now click on the Get Students button to view the list of corresponding class & section wise students to view the detailed report of the class.
Student Detailed Report
- From the Student Summary,by selecting the Class & Sections option we can select the required class & section,later select the respective Month
- Now click on the Get Students button to view the list of corresponding class & section wise students to view the detailed attendance student Summary report.
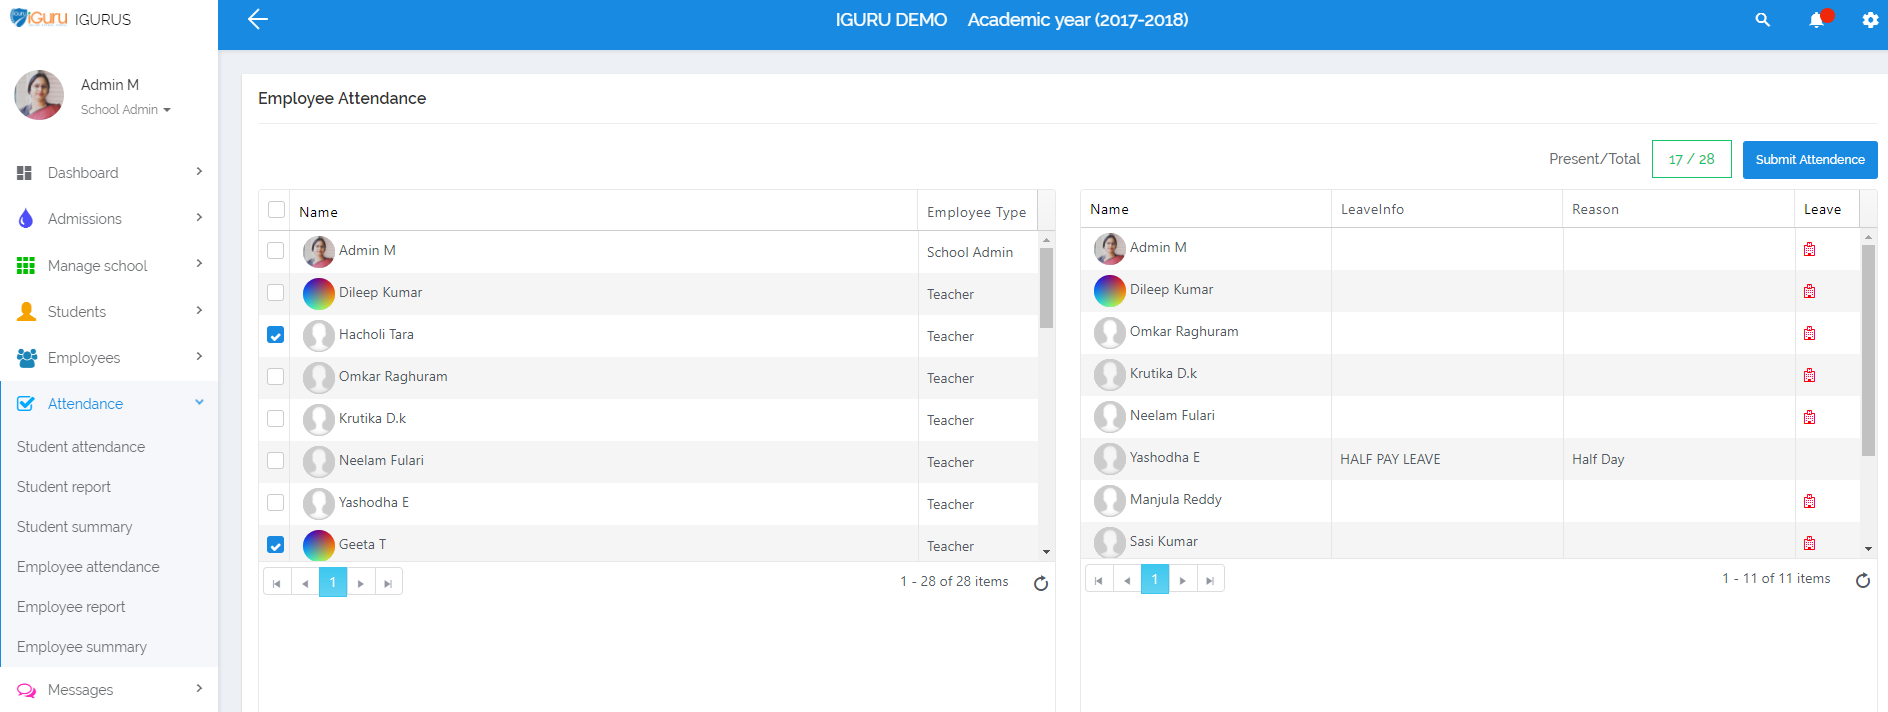
Employee Attendance
- From this module ,Employee Attendance you can select the employees from the list.
- After Selecting the Employees from the list,find the Submit Attendance button and click on it,then attendance will be submitted.
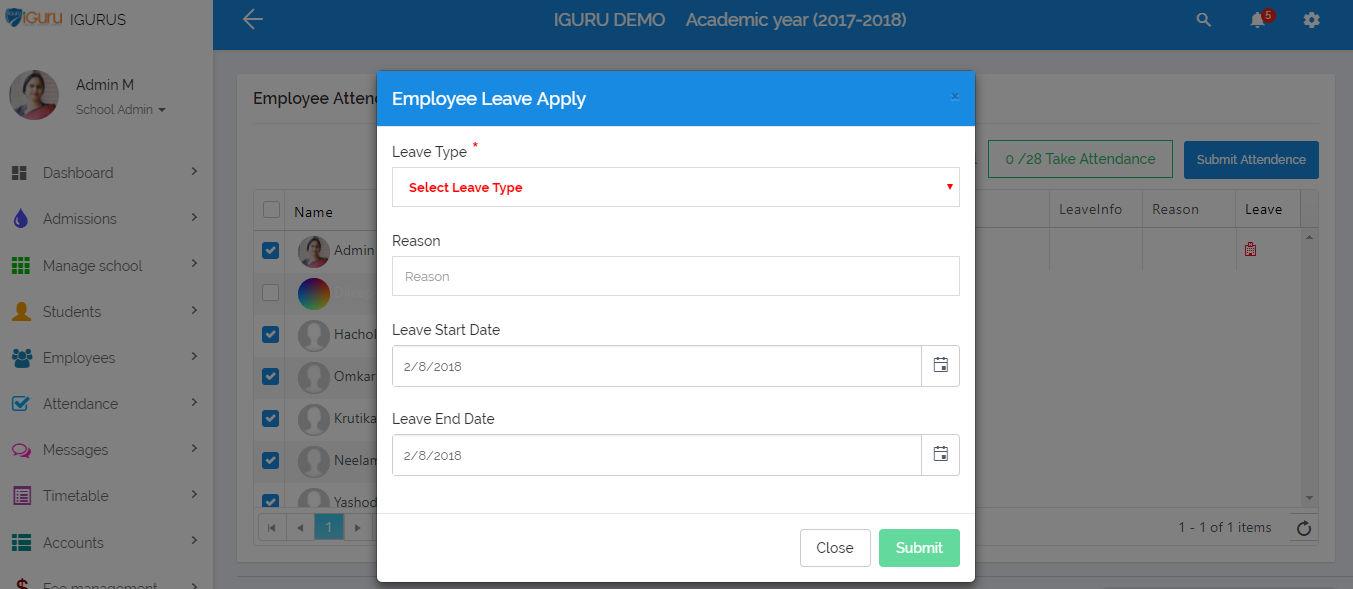
Employee Leave Apply
- After Submission of the attendance ,By clicking on the icon which is in the Leave column ,a popup will appear for applying Employee Leave Apply.
- In Employee Leave Apply,fill the Leave Type, Reason, Start Date & End Date find the Submit button and click on it,then attendance will be submitted.

Employee Detailed Summary
- From the Employee Summary Report,by selecting the Month option ,we can view the particular employee detailed summary report clearly month wise.
- Now click on the Get Employee button to view the detailed Summary reports of the corresponding employee.
Message

View Reports
- In the SMS Report module,click on the From Date calendar picker to get the from date and do the same for To Date to get the to date.
- After giving the dates find the Show button and click on it.
- Now the SMS Report will be displayed between those dates.
TimeTable
Time Table Setup
Initial Timings
- In the add Holidays,after selection of required number of holidays ,Holiday Name , Start Date End Date & Holiday Reason are available to fill.
- Delete option is also available for deletion incase of wrong selection of number of classes.
- After filling the form find the Submit button and click on it.
- After creation of Holiday Name,Start Date,End Date & Reason you can view the created holidays in the holidays list.
Class Timings
- IGuru provides all features to organize your institution.
- IGuru’s advanced technology is easy and user friendly.
Period Timings
- IGuru provides all features to organize your institution.
- IGuru’s advanced technology is easy and user friendly.
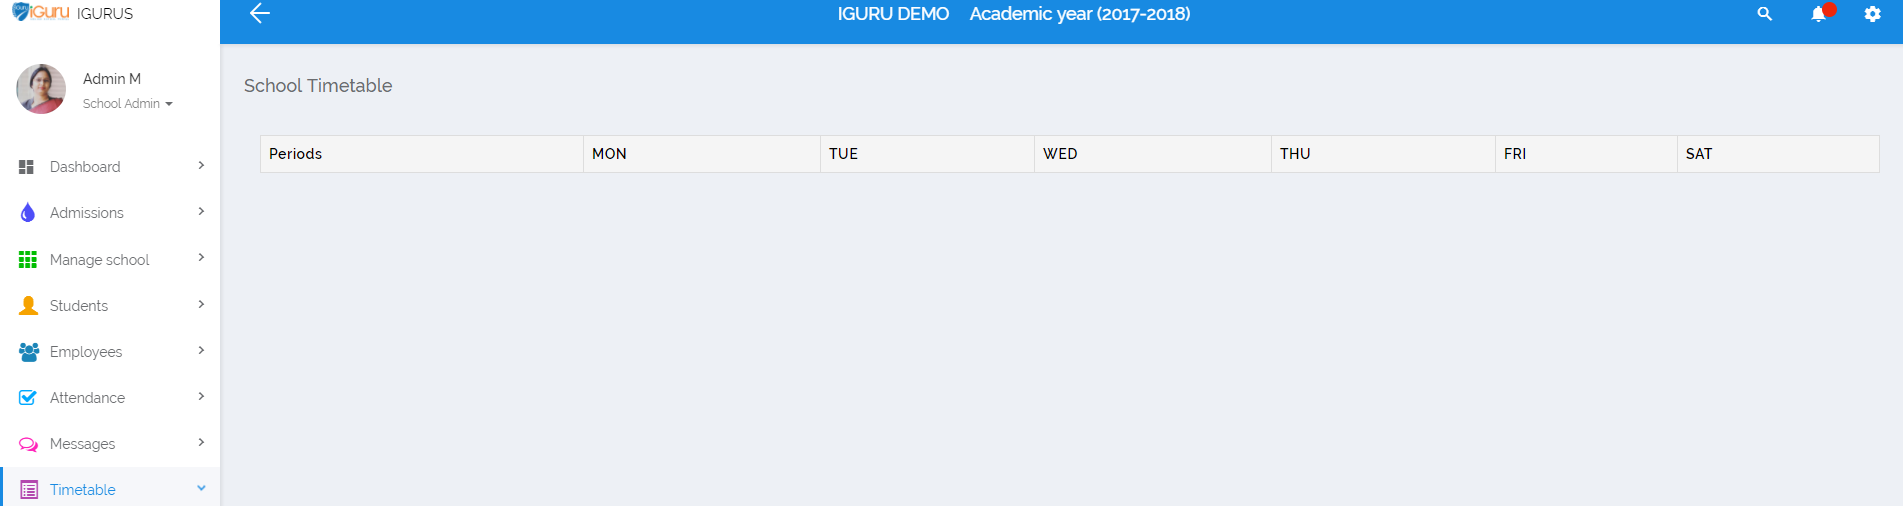
School Time Table
- In the school time table module ,class & section wise timetable can be seen & for any changes .
- Now click on the change button to view the school time schedule.
- It would redirect to the school time schedule page ,you can edit the timings of the periods as per to your convenience and oder.
Accounts
Fee Management
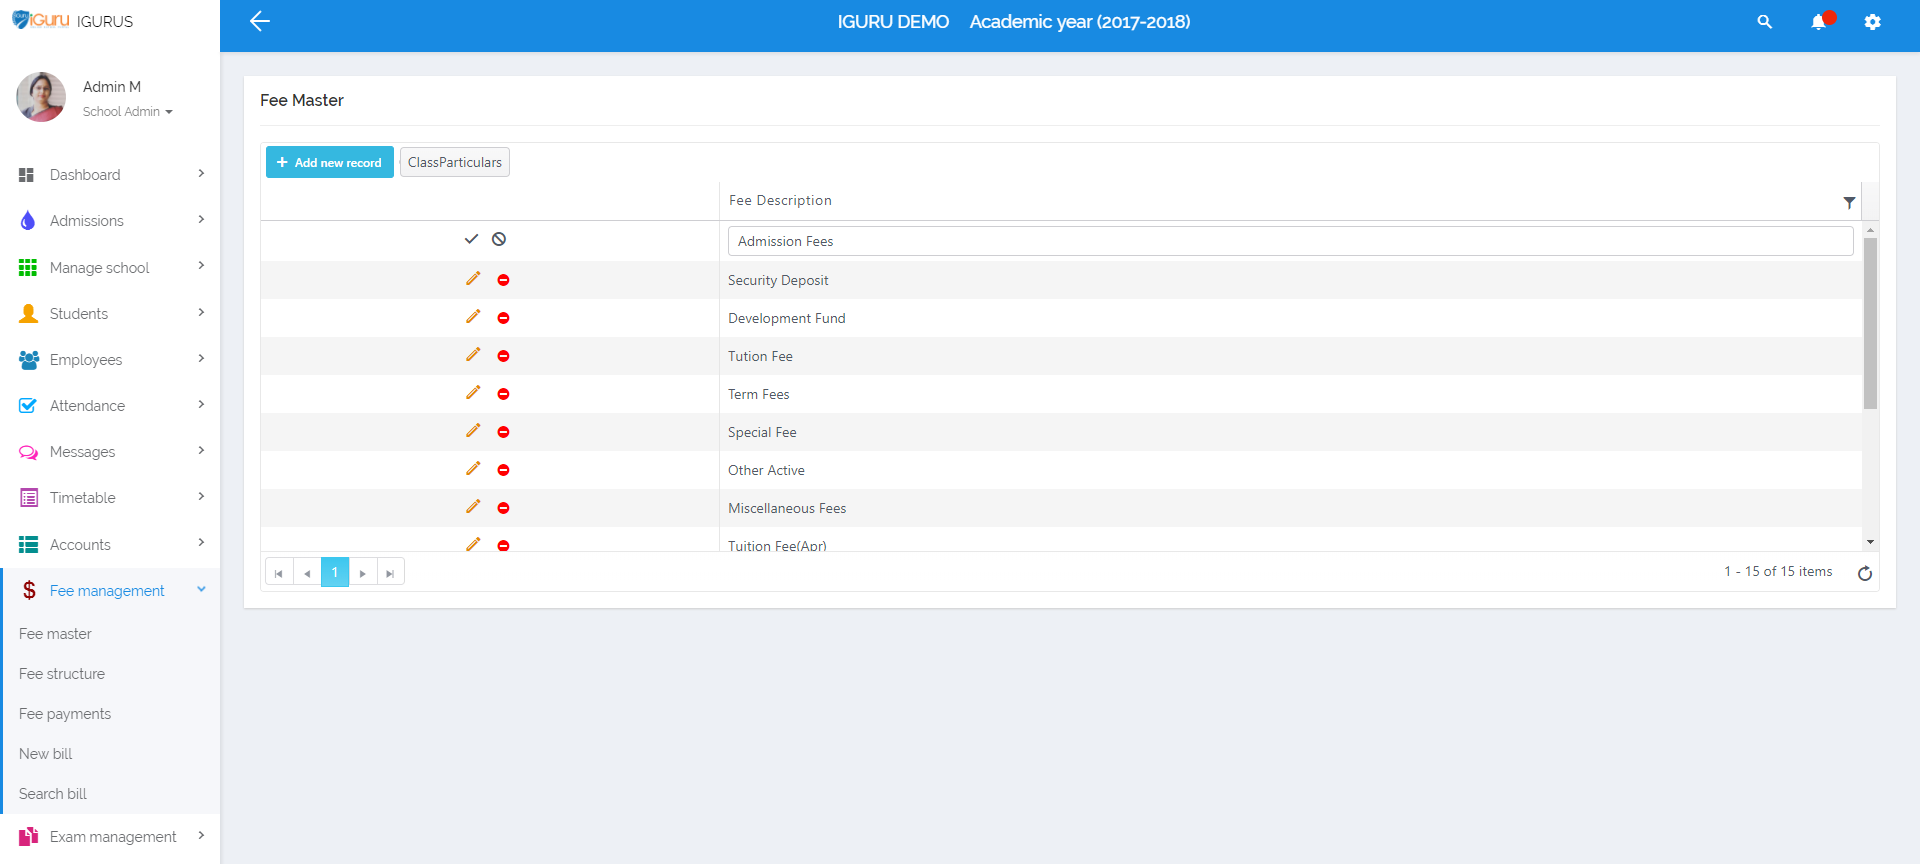
Fee Master
- By clicking on the Add New Record button ,a popup will appear for adding of the new records.
- Edit & Delete options are also available for modification or deletion of duplicate creation of records.
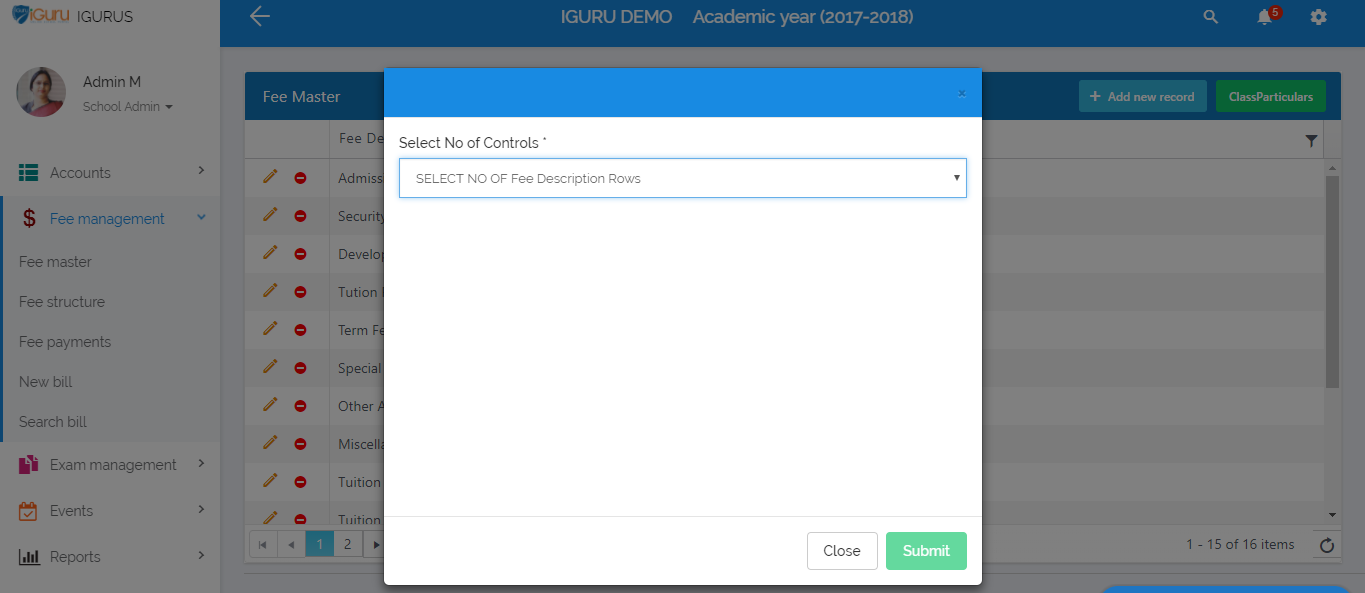
Add New Records
- In the add new records,by clicking on the Caret symbol which is at the end of the form,you can select the no.of controls as per to your requirement.
- After selection of the required number of controls you can view the below screen.
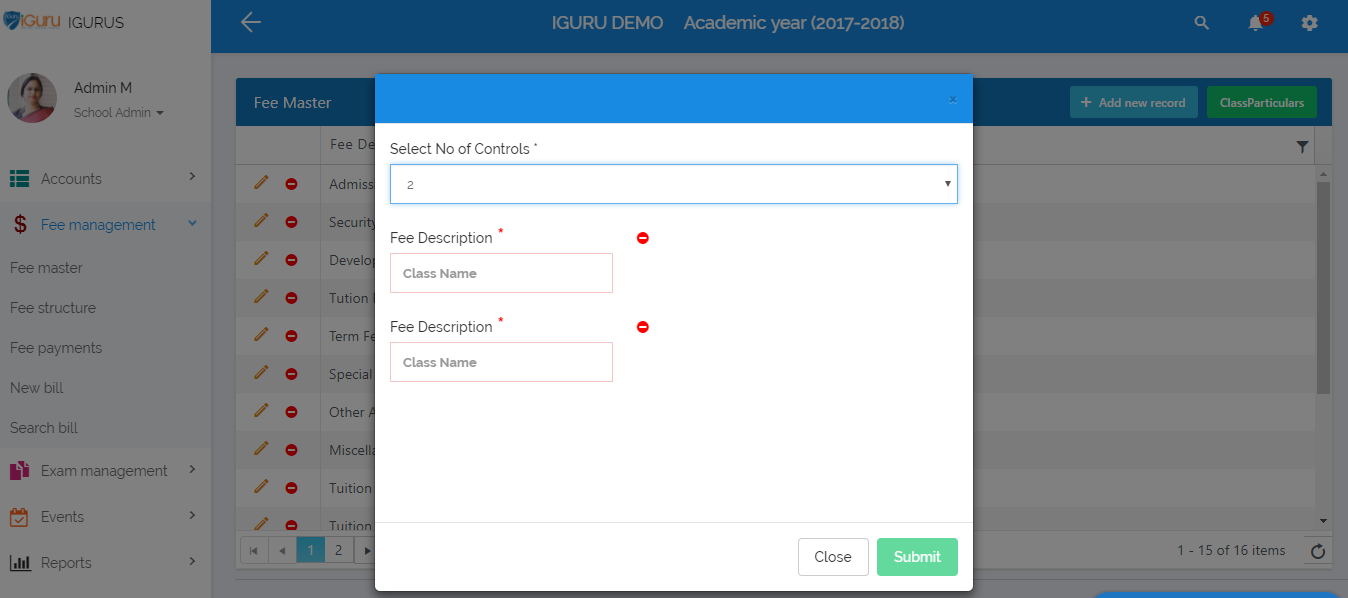
- In the add new records,after selection of required number of controls , Fee Description should be given.
- Delete option is also available for deletion incase of wrong selection of number of controls.
- After filling the form find the Submit button and click on it.
- After creation of Fee Description you can view the created controls in the Fee list.

Fee Structure
- IGuru allows you to automate your school’s day-to-day activities.
- IGuru makes communication easy between teachers, staff, students and parents.
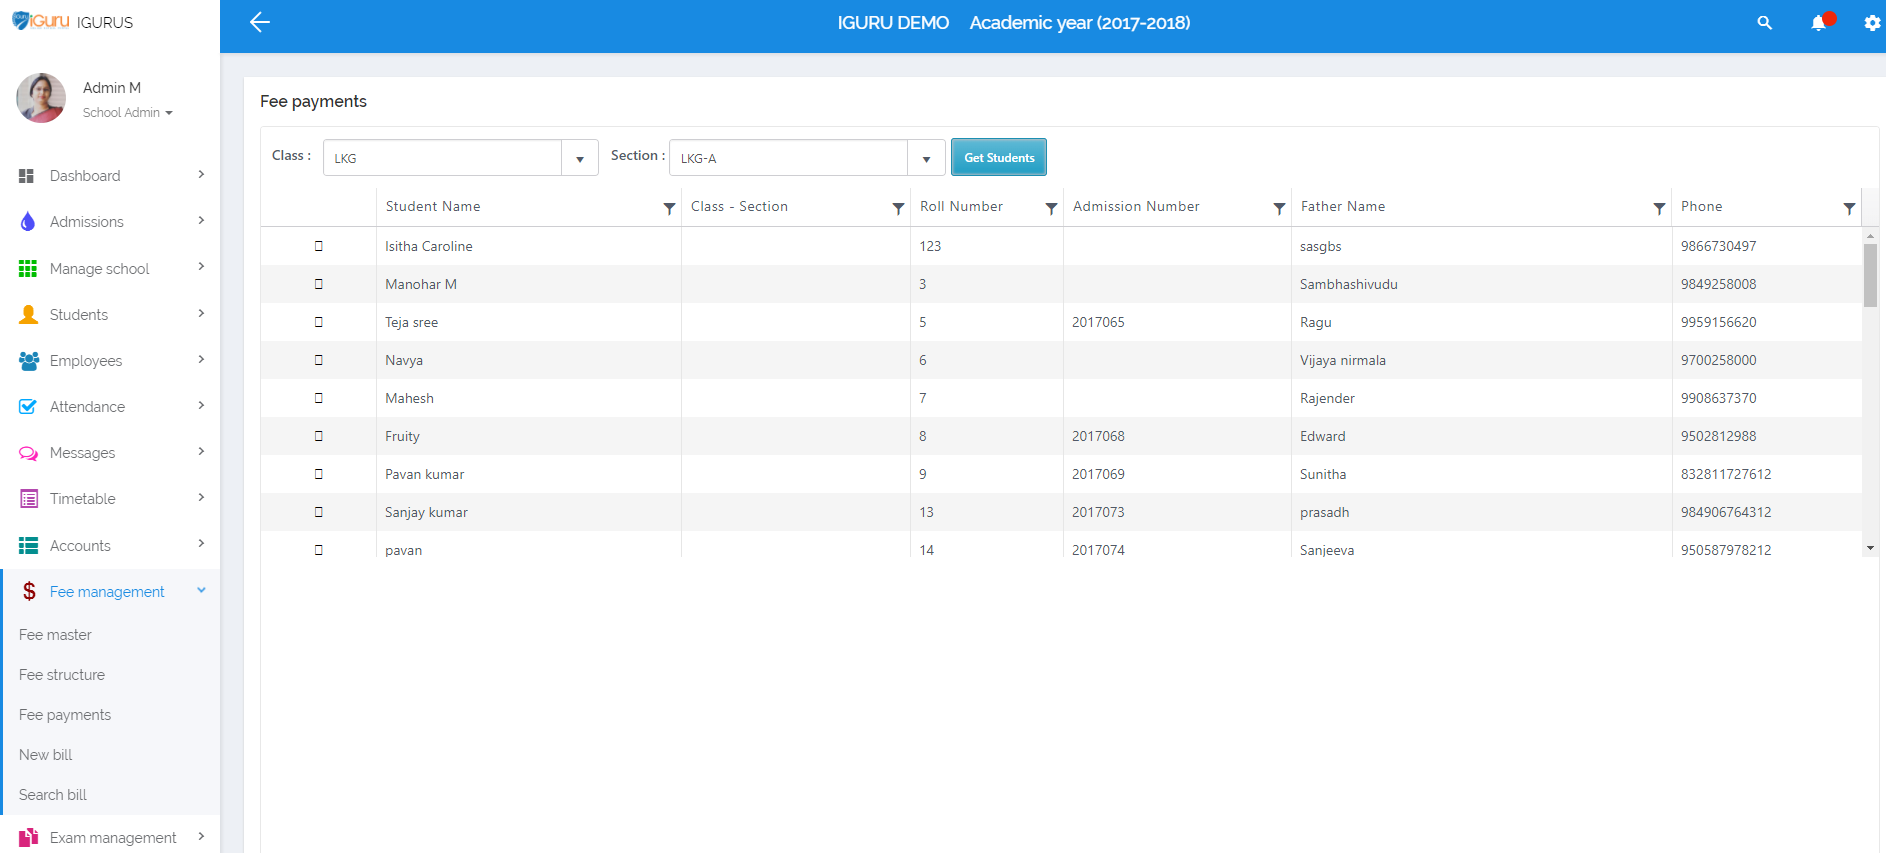
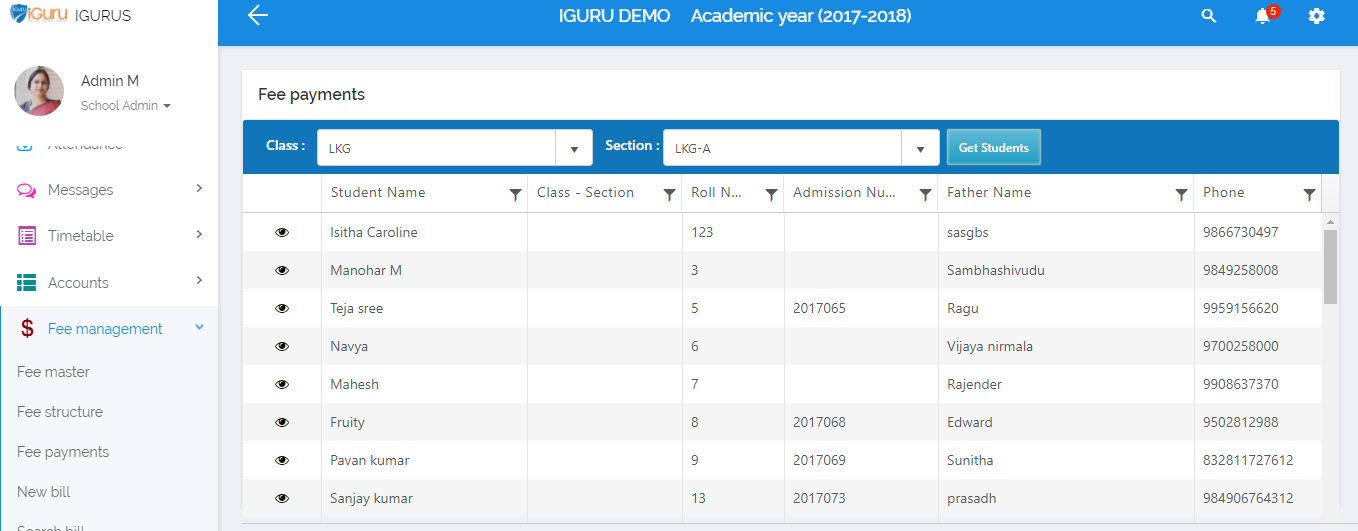
Fee Payments
- In the Fee Payments module ,from Class selection you can select the particular class and corresponding section.
- Now click on the Get Students button to view the list of corresponding class & section wise fee payment students details
- From the below screen you can view the selected class & section Students Fee Payments list.
Exam Management
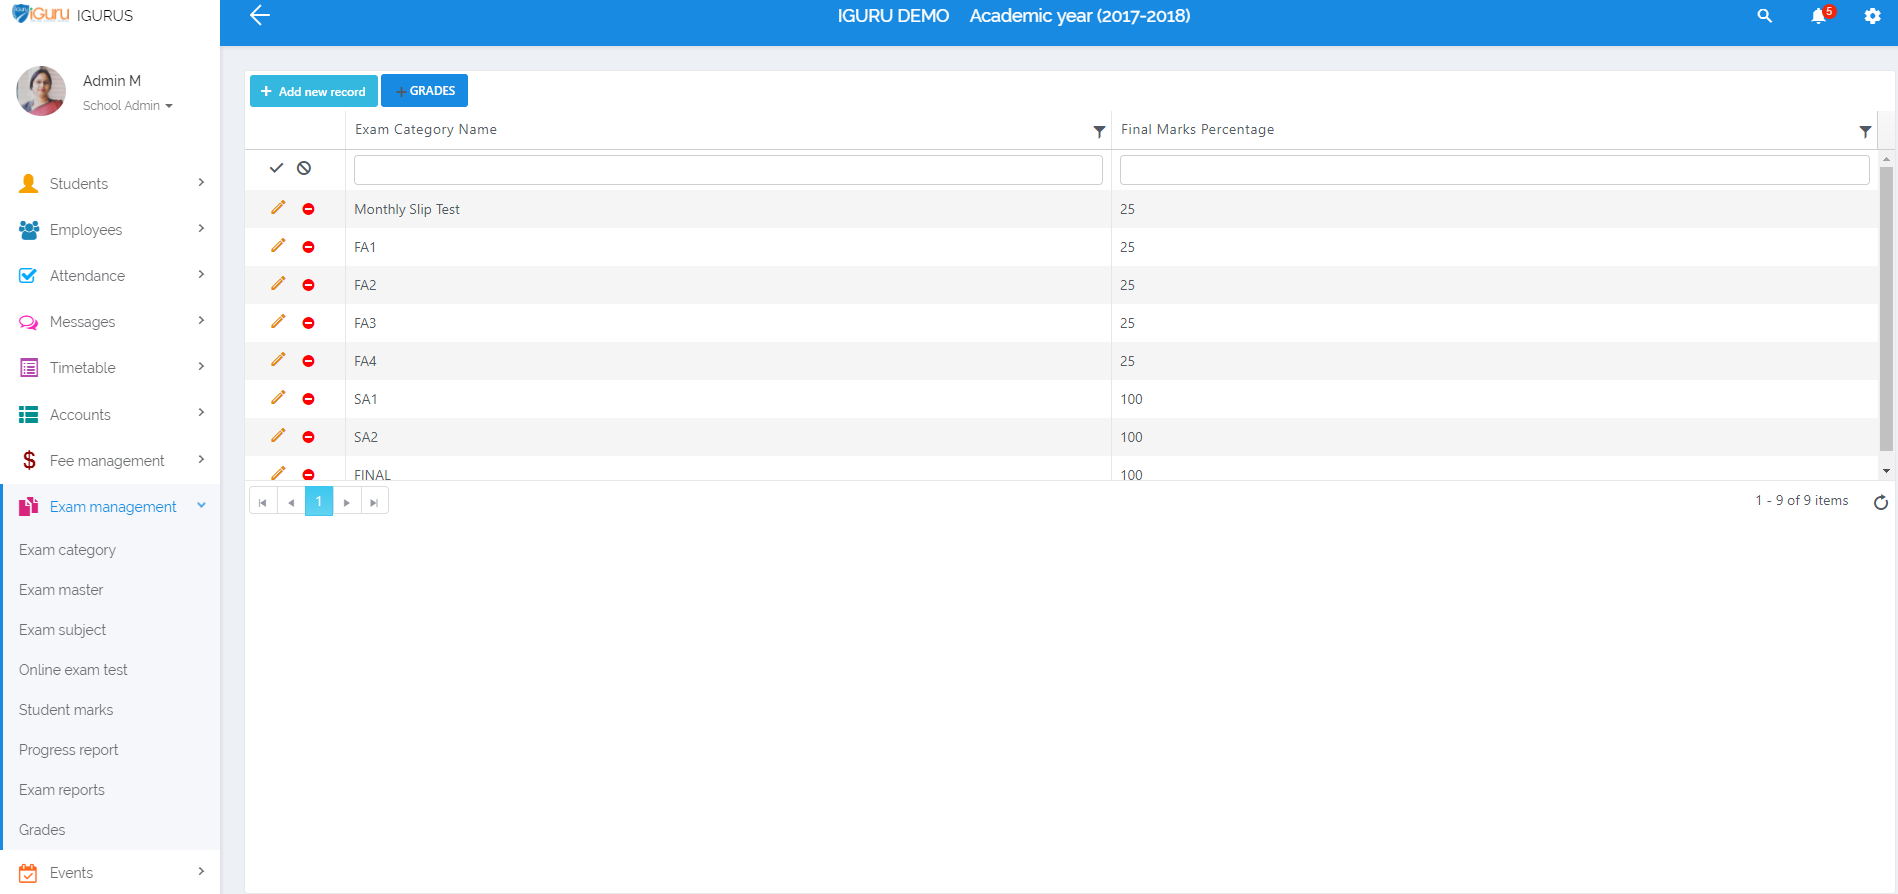
Exam Category
- By clicking on the Add New Category Record button ,a popup will appear for adding of the new records.
- Edit & Delete options are also available for modification or deletion of duplicate creation of classes.
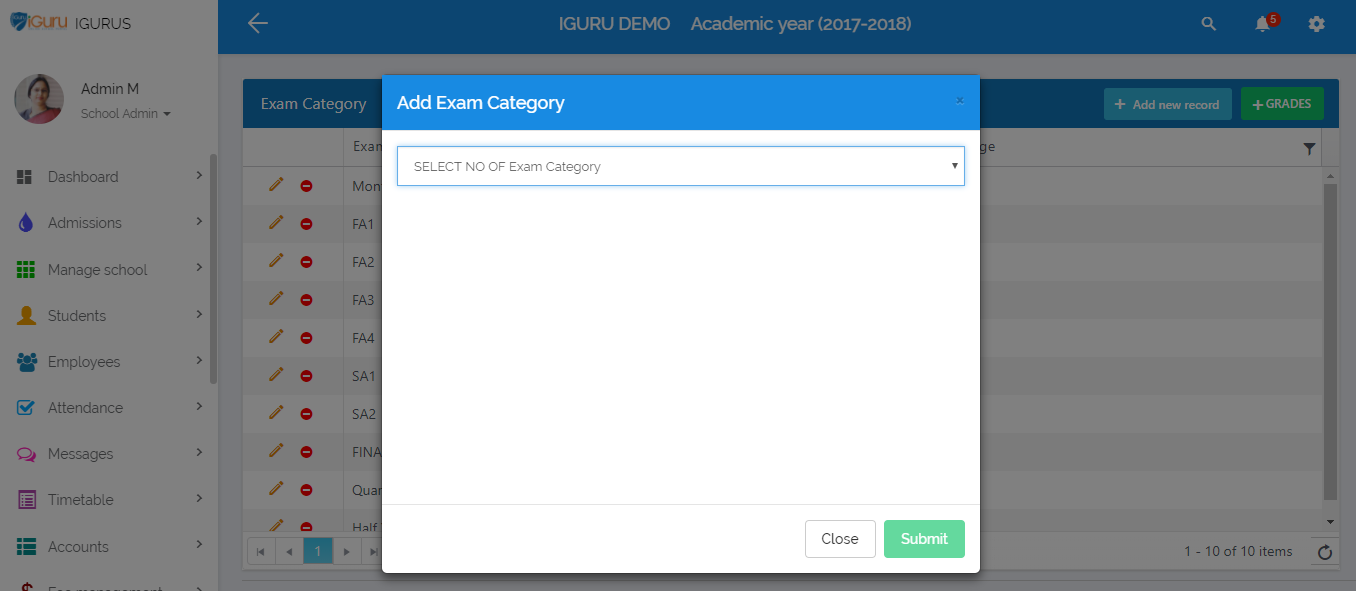
Add New Records
- In the add exam category, by clicking on the Caret symbol which is at the end of the form,you can select the no.of records as per to your requirement.
- After selection of the required number of exam category records you can view the below screen.
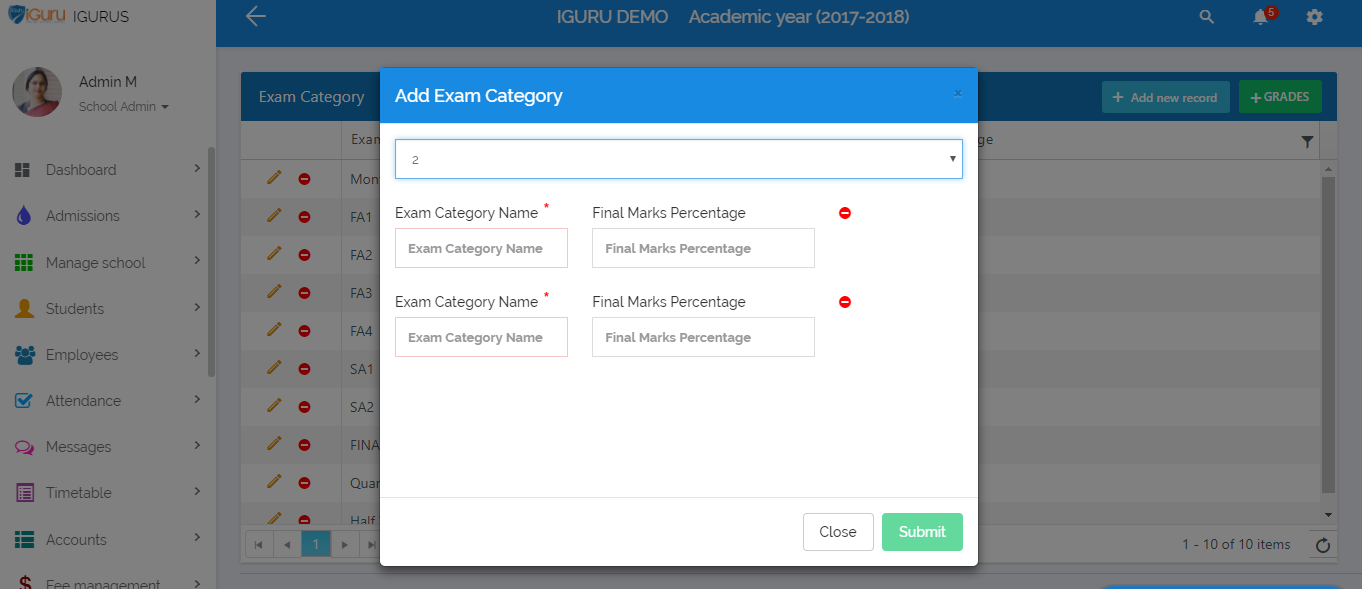
- In the add exam category,after selection of required number of records,Exam Category Name & Final Percentage Marks are available to fill.
- Delete option is also available for deletion incase of wrong selection of number of records.
- After filling the form find the Submit button and click on it.
- After creation of Exam Category Name & Final Percentage Marks you can view the created exam category records in the exam category list.
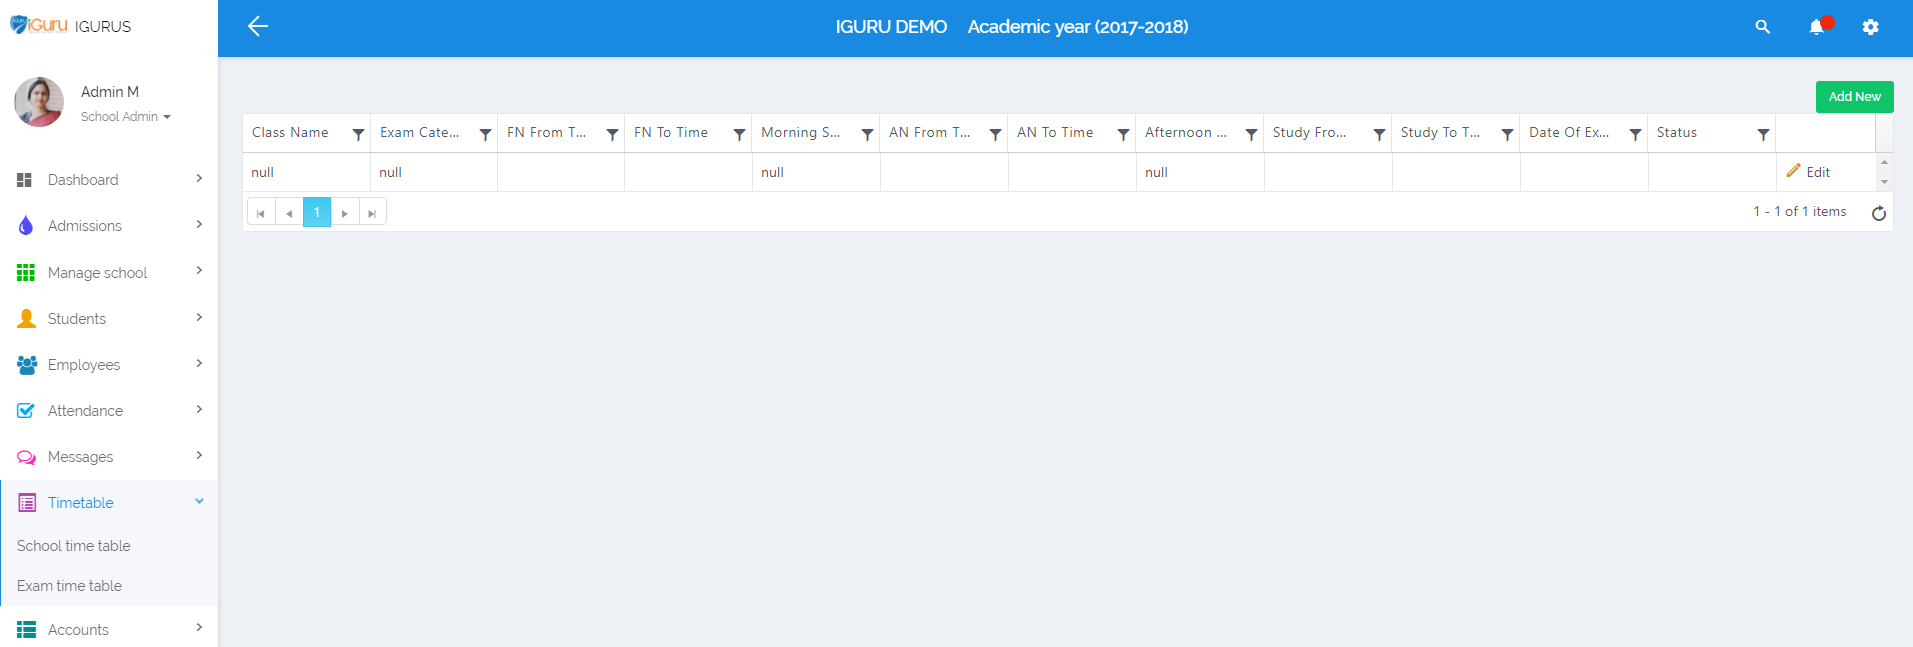
Exam Time Table

Add New Time-Table
- By clicking on the Add New button it would redirect to the Exam Timings .
- In the exam timings,you need to fill the exam name, subjects,timings & the commencement of exam dates to be held.
Events
Events /Gallery
- By clicking on the Add New Event button ,a popup will appear for adding of the new events.
- Edit & Delete options are also available for modification or deletion of duplicate creation of exam records.
Add Events
- In the add Events, by clicking on the Caret symbol which is at the end of the form,you can select No.of events.
- After selection of the required number of events you can view the below screen.
- In the add events,after selection of required number of events,Event Description, Event Location & Event Date are available to fill.
- Delete option is also available for deletion incase of wrong selection of number of records.
- After filling the form find the Submit button and click on it.
- After creation of Event Description, Event Location & Event Date you can view the created events list.

Upload Event Brochure Images
- In the upload event brochure images,by clicking on the Caret symbol which is at the end of the form,you can select the events which are created in the define events module.
- After selection of the required event, click on choose file button and select the images(Multiple images can also be selected) and click on Upload Images button to upload the images.
- You can view the uploaded images in the View Events module.
View Events Brouchure
- In the view events brochure,by clicking on the Caret symbol which is at the end of the form in select event name ,you can select the events.
- After selection of the required event, click on View Event Brochure button to view the images of the corresponding events.
Reports
Certificates
Gallery
Hostel
Library
Inventory
Control Panel
Transport
Transfer
Sports
Id Cards
Leave Management